
Beacon for Group Leaders
When managing your group as a group leader, you need to login to the administration part of Beacon.
For more help, please read the Beacon User Guide or access the Beacon Help Centre.
Logging in
![]()
In the u3a field select 'Interest Groups Online' . Then use your group leader's 'username' and 'password'. And finally, press 'Enter'.
If you have forgotten your password, use 'Click here' to reset your password.
The other options are:
- Calendar: displays on a new page the calendar of all IGO meetings
- E-mail delivery: shows the status of your recently sent emails.
Groups: Group details and emails to members
The first step is to select your group from the list of groups:
![]()
Scroll down the alphabetical list until you find your group and click on it. The Group Details page appears, which allows you to edit the group details:
![]()
You can change any the fields here, including your group name. But you should not untick any of the blue boxes ('Allow members to join on-line', 'Enable waiting list' and 'Notify Leader of changes').
In addition, you have the following options:
Members
When you click 'Members' (third from the left), you will see a list of all the members in your group.![]()
Here you should manage the members of your group. You can manually add a member to your group by selecting their name from the 'Add member by name' drop down list, or entering their membership number in the 'Add member by membership number' field.
Sending emails to members
To email group members, select them all by clicking all boxes on the left of 'member number'. Ensure the box at the bottom says 'send email' (box B) and then click 'Do with selected' (box A).
![]()
You can restrict the list of members by checking of unchecking the 'Joined members' or 'Waiting list' boxes.
![]()
Then you will see the next page where you can write your email. The features of this interface are described below from the top left corner:
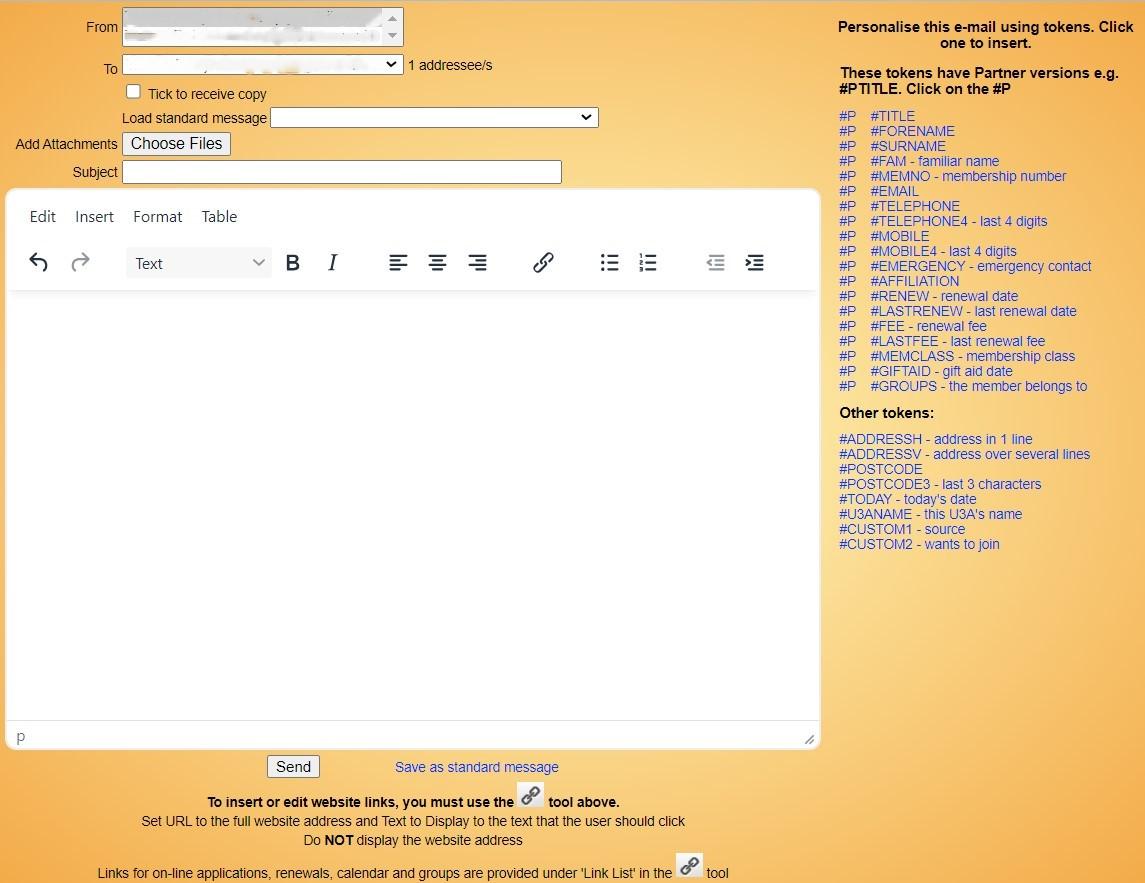
- 'From'. This should be your email address. If more than one is listed, please select the correct one.
- 'To', the list of addressees. It should contain the list you selected earlier.
- Check the 'Tick to receive a copy' check box if you wish to receive a copy of this e-mail.
- 'Load standard message' is explained below.
- If you wish to add attachments to your email, click 'Choose Files'. The files you attach must not exceed 20 MB.
- Remember to include a clear Subject. This helps to identify your email in the recipient's Inbox.
- The white field below allows you to write and format your email. The top line ('Edit', 'Insert', 'Format', and 'Table') offers you some useful features. Click on them to learn what they do, they are self-explanatory.
- Currently (correct on 29 November 2023) the 'Insert > Image' feature does not work. If you wish to include an image, attach its file with your email.
- Underneath are 13 mostly formatting icons. The 'Text' drop-down menu allows you to select headings of various sizes.
You can personalise your email by clicking on any of the tokens in the right column. For example, ‘Dear #FORENAME’ will ensure that each email is addressed directly to each recipient, despite being sent to multiple members. You can achieve this, for example, by typing 'Dear ' (with a space at the end) and then clicking on the '#FORENAME' blue button. You may use '#FAM' to address the recipient in a more familiar way.
Finally, when you are finished and are happy with your email, press the 'Send' button at the bottom.
Standard messages/ Message templates
You can create standard messages for your group which you can save and re-use as required.
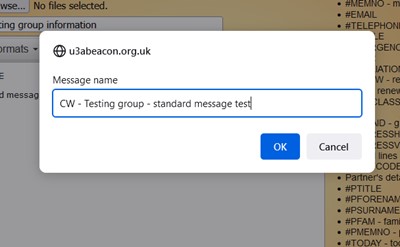
First select the people you want to contact. Write your email and then click on 'Save as standard message'. 
You will be asked to provide a name for the message. Please use the following format:
Your initials – group name – message name
To use the standard message again, select the people you want to email, and then click on 'Load standard message':
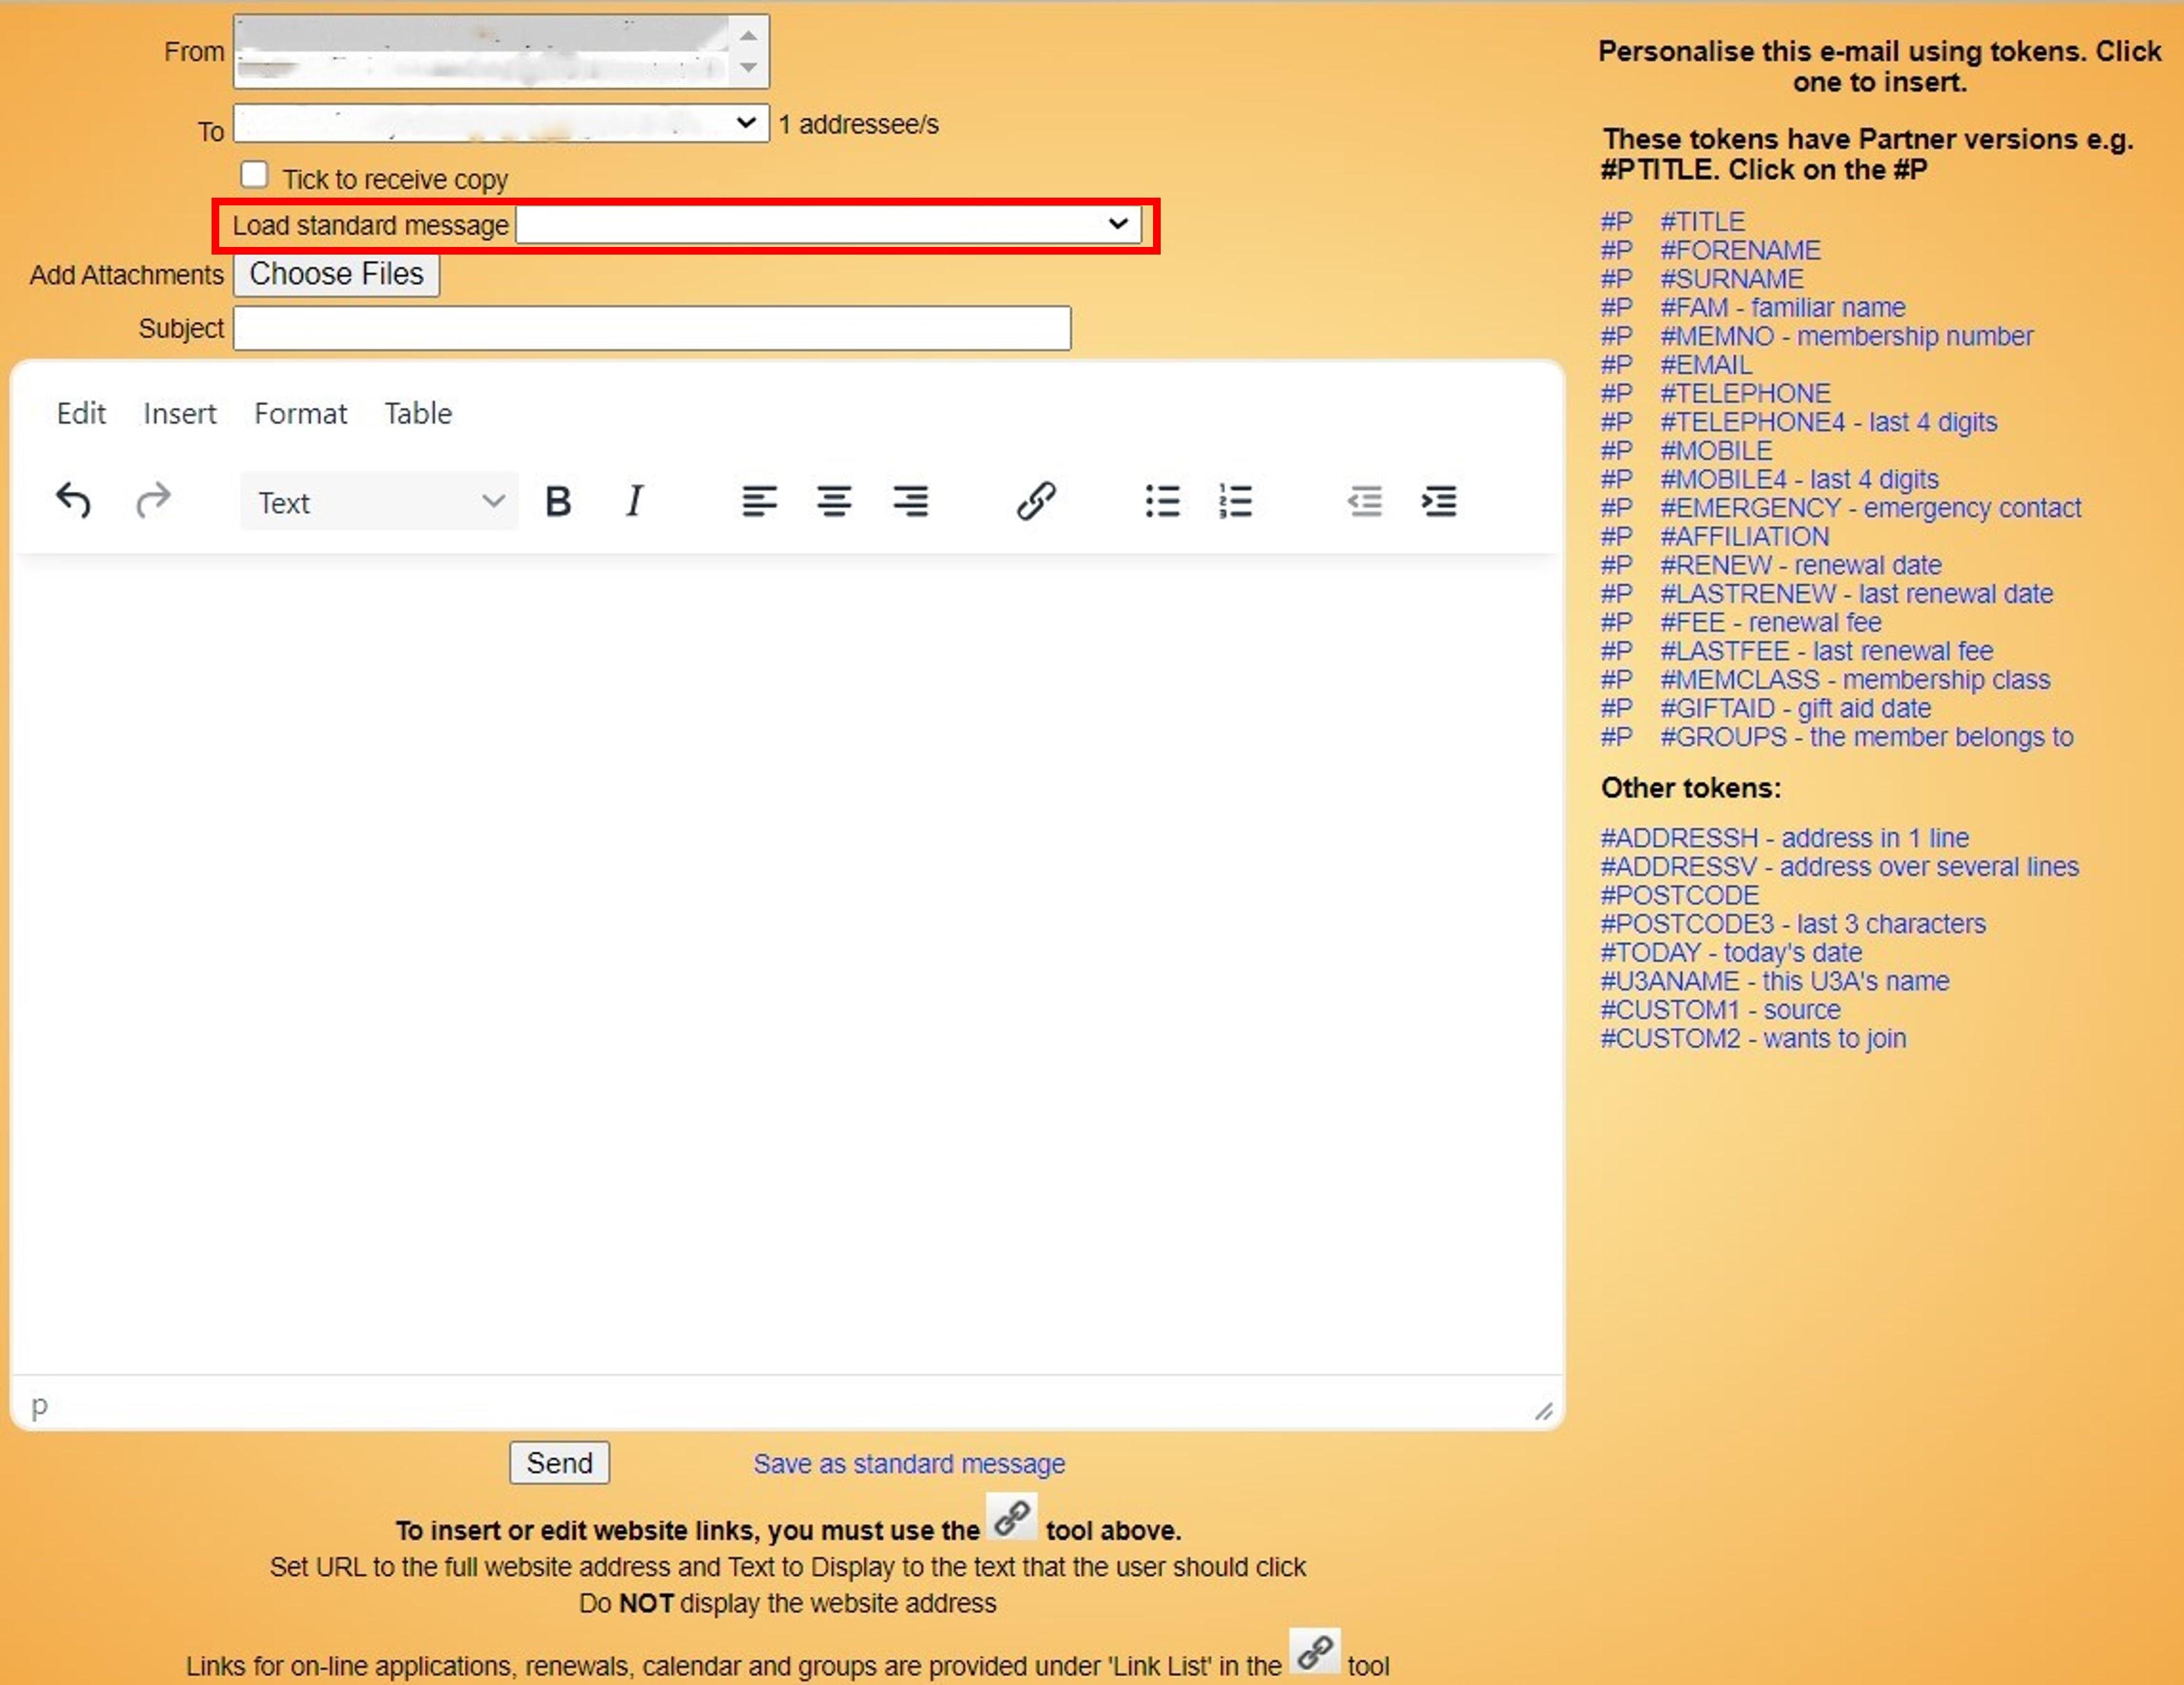
All the standard messages will appear and you can select your own message:
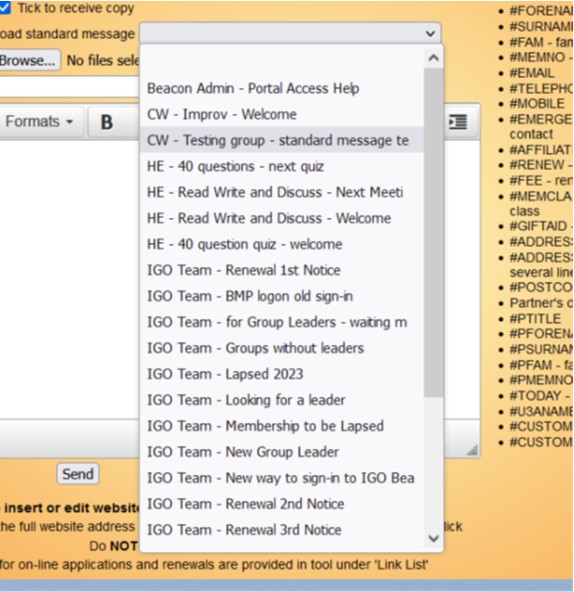
You can edit the message and re-save it if required. You cannot delete messages – if you want to have it removed, you should contact
New members and waiting lists
When a new member joins your group, they are put on the waiting list and do not receive any notification from Beacon. You – as the group leader – will receive the following email from
- If the group has vacancies, you get this message:
XXXX has joined the waiting list for the group YYYY Group
Places are currently available so check the list of Members for YYYY Group
In this case add the member to your group by clicking 'Join group' and send the member a welcome email.
- If the group is full, you get this message:
XXXX has joined the waiting list for the group YYYY Group
When the number of members in the group equals the maximum number allowed, Beacon decides the group is full, but it does not inform you that this is the case.
When the number of members in a group drops below the maximum number, Beacon does not automatically fill up the group with members on the waiting list.
It is, therefore important that you regularly monitor your group membership to ensure that when there is a vacancy, you move a member from the waiting list to the group. This should be done on a first-come first-served basis. Click on 'Join group' to add this member to your group. And do not forget to notify this member that they are now an active member of the group.
![]()
Beacon notifies you when someone leaves your group.
Members on the list who are not attending meetings
If a member does not attend meetings for three months, they should be asked if they want to continue to be in the group, and advised that if they do not reply, they will be removed. If they say they want to continue, but do not attend for the next three months, they will be removed anyway. There may be extenuating circumstances such as illness which should be addressed on a case by case basis, with appropriate discretion advised.
Schedule: Creating group events
You should use the 'Schedule', to the left of 'Members' to add information about future meetings. You will get a screen showing no upcoming events if you have not added any events.
![]()
You can add an individual event by selecting the date. Leave 'Number of events' as 1.
![]()
Click 'Add Events' to save your meetings.
When someone selects 'Calendar' in the Beacon Members Portal, they will see information about upcoming meetings for individual groups.
![]()
You can add a series of events that occur at regular intervals, such as every week, every two weeks, 1st Monday etc, and then choose the appropriate interval.
![]()
When you click 'Add Events', you will see your events listed above.
![]()
If the events occur at irregular times, then they should be added individually.
Events will disappear from the calendar when the date is past.
If you have any questions, please email